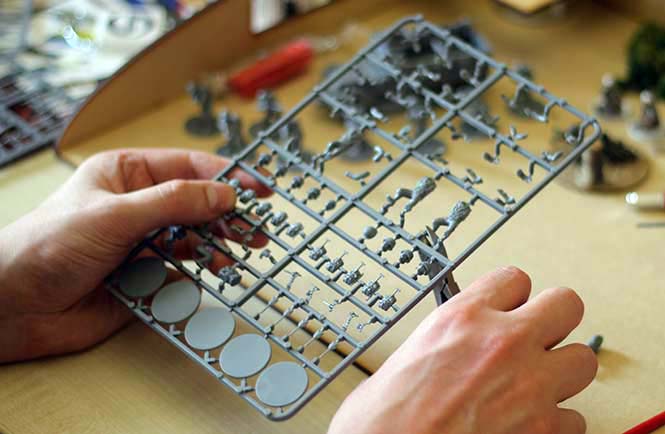
1. Clip Out the Parts
Plastic kits are ideal for a starter force. Use modelling clippers to remove the components from the plastic frame, or 'sprue'.
As with all model kits, you may need to use a small file or a craft knife to remove any mould lines or rough edges left over from the casting process.
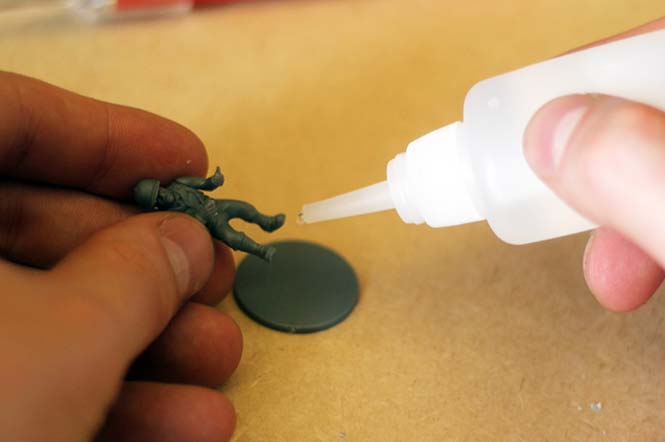
2. Assemble and Add Base
Our plastic infantry kits are multi-part models so you can create hundreds of different combinations and poses.
Plastic models are best stuck together with Plastic Glue which melts both pieces very slightly for a strong bond. Finish each infantry model with a round base - these will be either plastic or wooden.
NB. For sticking wood, metal or resin you'll need superglue (resin models require a few extra steps too).
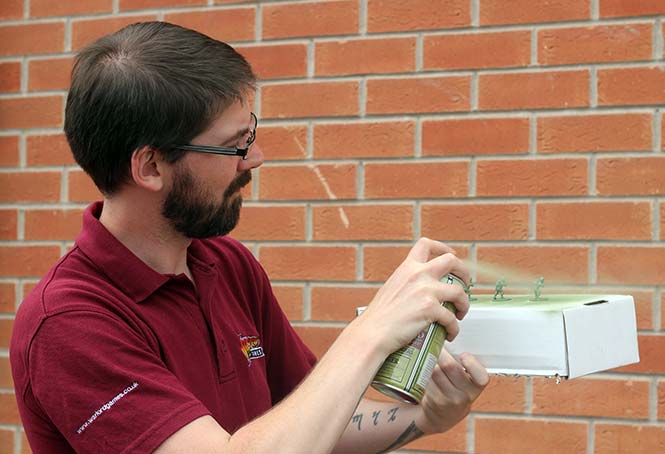
3. Undercoat
An undercoat forms a good base for painting.
Aerosol spray undercoats are quickest and give a nice smooth surface to work on. Just make sure to spray in a well ventilated area. We also suggest a cardboard box or something similar to catch the over-spray - otherwise you'll end up painting whatever is behind your models too!
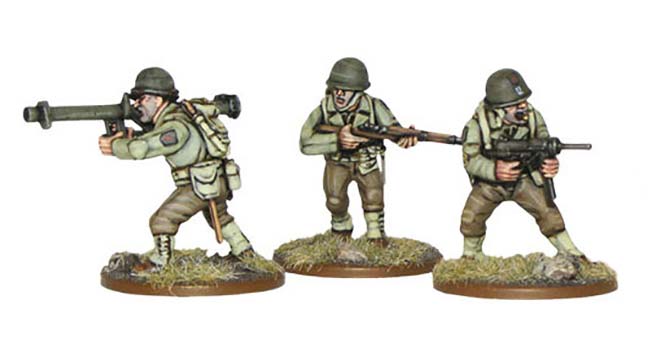
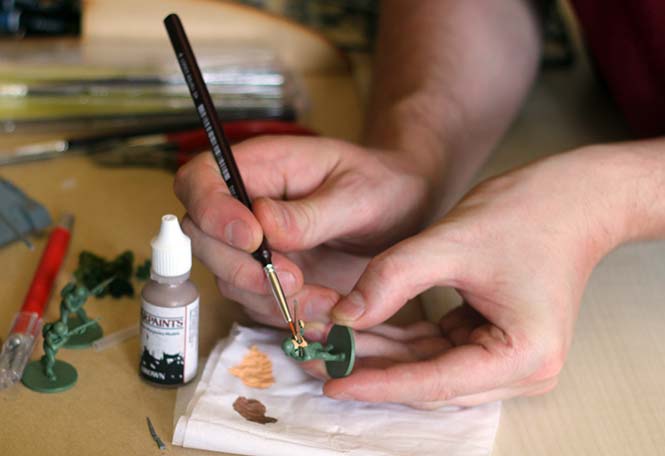
4. Paint the Details
You'll find plenty of reference for which colours to use on our website and elsewhere on the web.
To start with, aim to apply neat, flat colours. If you want, you can go on to add shading washes, highlights and fine details like buttons, belt-buckles and uniform markings.
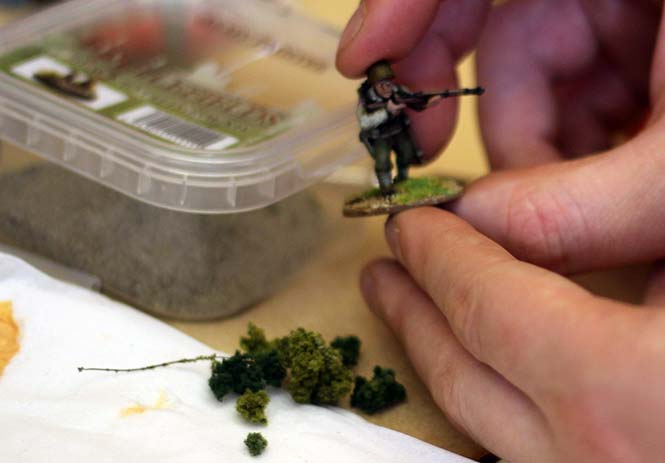
5. Finish the Base
Many wargamers like to add some texture and detail to their model's bases. This disguises the join with the rest of the model and looks really good on a similarly coloured gaming table.
Common materials used are sand or fine gravel and/or specialist 'flock' and tufts that look like grass and foliage.
6. Varnish
A good coat of varnish protects your models from the inevitable bumps and knocks of the gaming table.